Transform simple yarn into adorable three-dimensional creatures with these comprehensive amigurumi tutorials. Whether you're crafting your first magic ring or designing complex jointed characters, this complete guide provides step-by-step instructions, professional techniques, and troubleshooting solutions that turn beginners into confident amigurumi artists.
Amigurumi represents the perfect fusion of technical crochet skill and creative expression. Unlike flat crochet projects, these three-dimensional sculptures require specialized techniques that create sturdy, huggable creatures with professional-quality finishes. Master these methods to join the millions of crafters worldwide who've discovered the joy of bringing yarn to life.
Understanding Amigurumi: The Art of 3D Crochet
What Makes Amigurumi Special
Amigurumi (編みぐるみ) differs fundamentally from traditional crochet through its emphasis on creating sculptural, three-dimensional forms. This Japanese art form combines specific technical requirements with aesthetic principles that create irresistibly cute characters.
Defining Characteristics:
- Continuous spiral construction: No joining between rounds creates seamless shapes
- Tight gauge: Dense fabric prevents stuffing from showing through
- Strategic shaping: Calculated increases and decreases create curves and form
- Minimal seaming: Most pieces constructed as single units for clean appearance
- Kawaii aesthetics: Large heads, small bodies, and expressive features maximize appeal
Technical Requirements: Unlike regular crochet that may be forgiving of tension variations, amigurumi demands consistency. The dense fabric must hold its shape while remaining soft enough for cuddling. This precision makes amigurumi both challenging and rewarding for crafters seeking to master advanced techniques.
Size and Scale Options:
- Miniature: 1-3 inches (keychains, ornaments, jewelry)
- Pocket-sized: 3-6 inches (desk companions, travel toys)
- Standard: 6-10 inches (children's toys, gifts)
- Large: 10-18 inches (decorative pieces, comfort objects)
- Jumbo: 18+ inches (statement pieces, pillows)
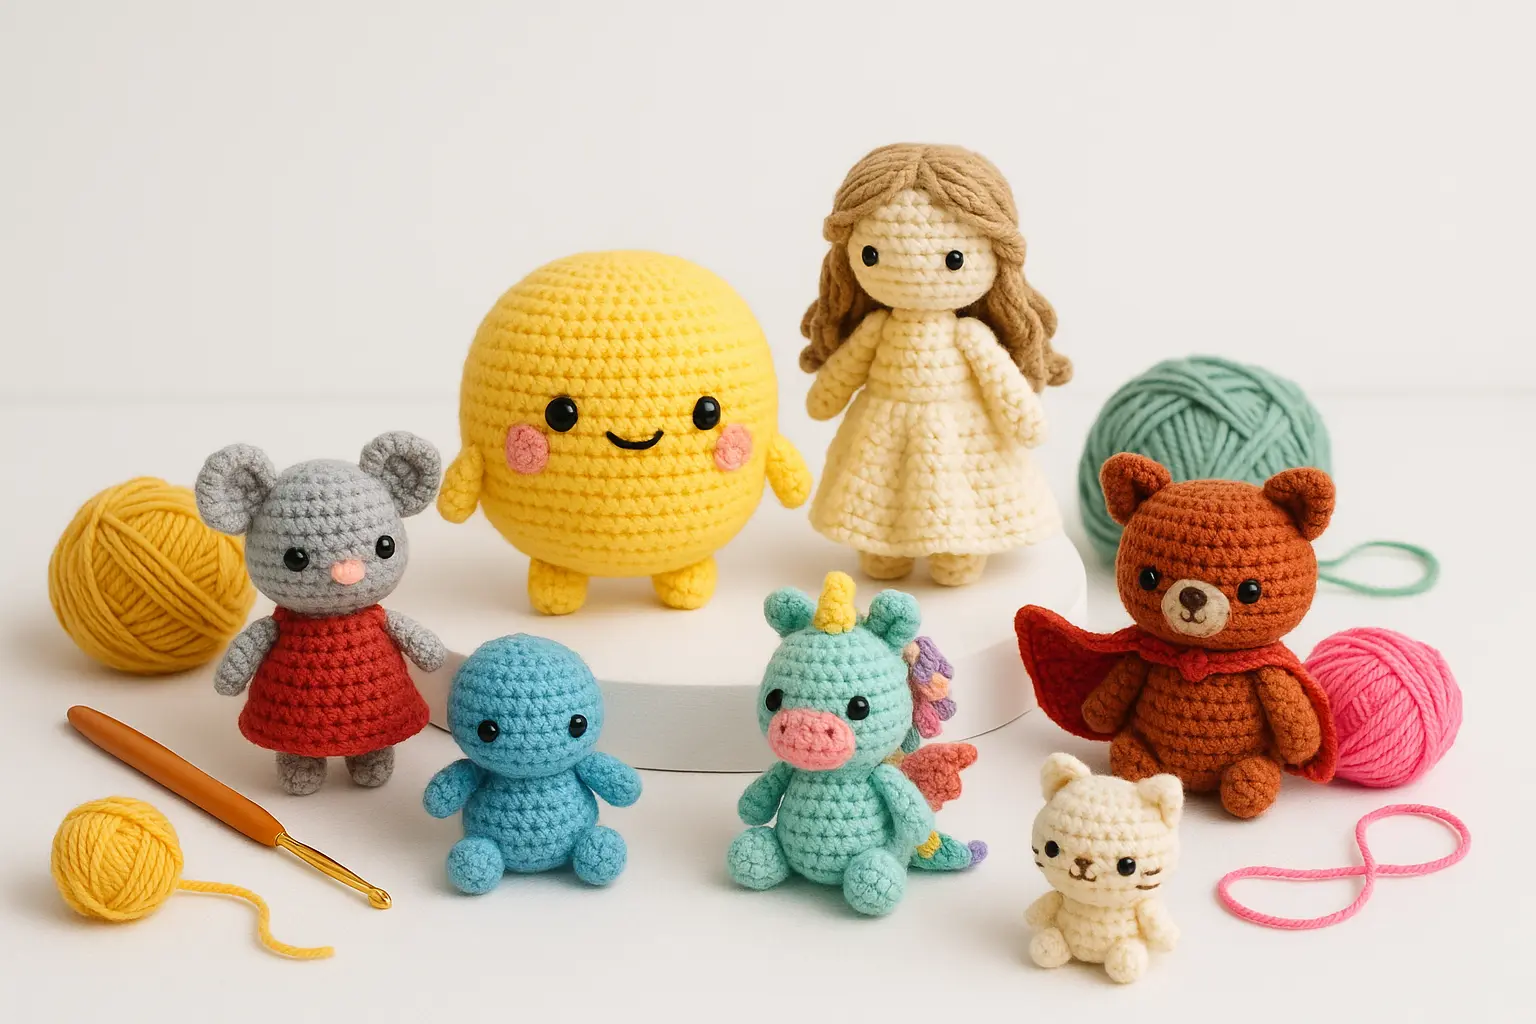
Popular Amigurumi Categories
Animal Kingdom:
- Domestic animals: Cats, dogs, rabbits, hamsters
- Farm animals: Cows, pigs, sheep, chickens
- Wild animals: Lions, elephants, giraffes, pandas
- Ocean creatures: Whales, octopi, fish, jellyfish
- Fantasy animals: Unicorns, dragons, phoenix, griffins
Character Designs:
- Anime/manga style: Large eyes, expressive features
- Cartoon characters: Simplified, iconic designs
- Video game characters: Recognizable gaming favorites
- Original creations: Personal design interpretations
Functional Amigurumi:
- Home décor: Pillows, door stops, plant pot covers
- Practical items: Phone cases, keychains, bag charms
- Educational tools: Counting toys, alphabet characters
- Therapeutic items: Stress balls, fidget toys
Essential Techniques: Building Your Foundation
Mastering the Magic Ring
The magic ring forms the cornerstone of professional amigurumi construction. This technique creates a completely closed center without the gap that traditional chain circles leave.
Perfect Magic Ring Execution:
Setup:
- Create starting loop: Hold yarn tail in non-dominant hand, create loop by wrapping working yarn around index finger
- Position hands: Maintain loop with thumb and middle finger, keep index finger extended
- Insert hook: Slide hook under first strand of loop, over second strand
Construction: 4. Secure foundation: Yarn over with working yarn, pull through loop (1 loop on hook) 5. Chain anchor: Chain 1 to secure (doesn't count as stitch) 6. Work first round: Insert hook into ring center, complete required single crochets 7. Close ring: Pull yarn tail firmly to eliminate center hole 8. Secure closure: Work one additional stitch to lock tail in place
Professional Tips:
- Leave 6-inch tail for secure weaving
- Test ring closure by tugging gently before continuing
- Practice with contrasting colors to see technique clearly
- Count stitches carefully as you work into ring
Common Magic Ring Mistakes:
- Working into loop strands: Stitches should go through ring center, not around yarn
- Insufficient tail length: Short tails pull out during finishing
- Wrong yarn for pulling: Always pull tail, never working yarn
- Inconsistent stitch placement: All stitches should enter ring at same depth
Working in Continuous Rounds
Amigurumi's seamless appearance comes from working in continuous spirals rather than joined rounds. This technique requires careful tracking but produces superior results.
Continuous Round Guidelines:
Setup and Tracking:
- Stitch markers: Use removable markers to track round beginnings
- Marker placement: Position in first stitch of each new round
- Marker movement: Advance marker as each round completes
- Stitch counting: Verify count at end of each round
Working Technique:
- No joining: Never slip stitch to close rounds
- No turning: Always work from same side
- Consistent direction: Maintain rightward progression (left-handed: leftward)
- Even tension: Keep stitches uniform throughout
Round Progression Tracking: Create a simple log for complex patterns:
- Round 1: 6 stitches
- Round 2: 12 stitches (increase in each)
- Round 3: 18 stitches (increase every 2nd)
- Continue pattern noting any changes
Perfect Increases and Decreases
Shaping in amigurumi requires precise increase and decrease techniques that maintain fabric integrity while creating smooth curves.
Invisible Increase Technique:
The key to professional increases lies in maintaining fabric density while adding stitches.
Step-by-Step Process:
- Identify target stitch: Insert hook under both loops of designated stitch
- Complete first single crochet: Yarn over, pull through stitch, yarn over, pull through both loops
- Remain in same stitch: Insert hook under both loops of same stitch again
- Complete second single crochet: Work normally, creating two stitches in one space
- Verify placement: Ensure both stitches share same base without gaps
Strategic Increase Placement:
- Even distribution: Space increases evenly around circumference
- Gradual shaping: Avoid placing increases directly above previous round's increases
- Pattern consistency: Maintain regular increase intervals for smooth curves
Invisible Decrease Mastery:
Standard decreases create bumps and distortions. The invisible decrease maintains smooth fabric while reducing stitch count.
Professional Invisible Decrease:
- Front loop insertion: Insert hook under front loop only of next stitch
- Second insertion: Insert hook under front loop only of following stitch
- First pull-through: Yarn over, pull through both front loops (3 loops on hook)
- Complete decrease: Yarn over, pull through all 3 loops
- Check result: Decrease should be nearly invisible from outside
When to Use Each Technique:
- Standard decreases: Interior construction where appearance matters less
- Invisible decreases: Visible areas, final closure rounds, character faces
- Strategic placement: Plan decrease locations for optimal shaping
Advanced Construction Methods
Complex Shaping Techniques
Beyond basic spheres and cylinders, amigurumi artists create sophisticated forms through advanced shaping methods.
Gradual Shaping for Natural Curves:
Pear Shape Construction:
- Rounds 1-6: Standard increase pattern for wide base
- Rounds 7-15: Work even (no increases/decreases) for cylinder section
- Rounds 16-22: Gradual decreases (every 3rd, then 2nd, then every stitch)
- Result: Smooth pear silhouette perfect for bodies
Egg Shape Variation:
- Rounds 1-4: Rapid increases for wide center
- Rounds 5-8: Gradual increases for maximum width
- Rounds 9-12: Work even at widest point
- Rounds 13-18: Gradual decreases to point
- Application: Ideal for egg-shaped bodies, heads
Dramatic Shaping for Character Features:
Snout Construction:
- Mark placement: Use removable markers on completed head
- Pick up stitches: Work into marked stitches around snout area
- Build projection: Work in rounds, gradually decreasing
- Shape integration: Blend snout edges invisibly into head
Limb Tapering:
- Start with full diameter at attachment point
- Decrease every 3-4 rounds for gradual taper
- Maintain symmetry between paired limbs
- Stuff as you work for proper shaping
Color Work Integration
Clean Color Changes:
Professional amigurumi requires invisible color transitions that don't interrupt the fabric flow.
Perfect Color Change Method:
- Timing: Change colors on final yarn over of last stitch in old color
- Drop old color: Let old color hang loose
- Pick up new color: Complete final yarn over with new color
- Secure transition: Work first stitch of new round with new color
- Manage tails: Work over color tails for several stitches to secure
Multi-Color Design Strategies:
Stripes and Bands:
- Plan stripe widths in advance
- Carry colors up sides when returning to previous colors
- Weave in ends as work progresses
- Consider stripe placement for character recognition
Colorwork Patterns:
- Fair Isle technique: Carry unused colors behind work
- Intarsia method: Use separate yarn balls for color sections
- Surface crochet: Add color details after construction
- Embroidery application: Final color details with needlework
Professional Assembly Techniques
Invisible Seaming Methods:
Mattress Stitch for Amigurumi: This technique creates completely invisible seams that maintain the piece's professional appearance.
Process:
- Thread preparation: Use yarn matching the pieces being joined
- Starting position: Begin at less visible area when possible
- Stitch pattern: Alternate between pieces, catching edge stitches
- Tension control: Pull firmly but don't gather fabric
- Finishing: Bury final knots inside pieces
Strategic Assembly Order:
- Major body parts: Attach limbs to body while body is still accessible
- Head attachment: Join head ensuring proper alignment and proportion
- Small details: Add ears, tails, accessories after main assembly
- Final details: Facial features, embellishments last
Reinforcement Techniques:
- Double-stitch stress points: Arm and leg attachments need extra security
- Strategic stuffing: Pack firmly around attachment points
- Thread choice: Use strong thread for heavily-used toys
- Joint protection: Consider button joints for moveable limbs
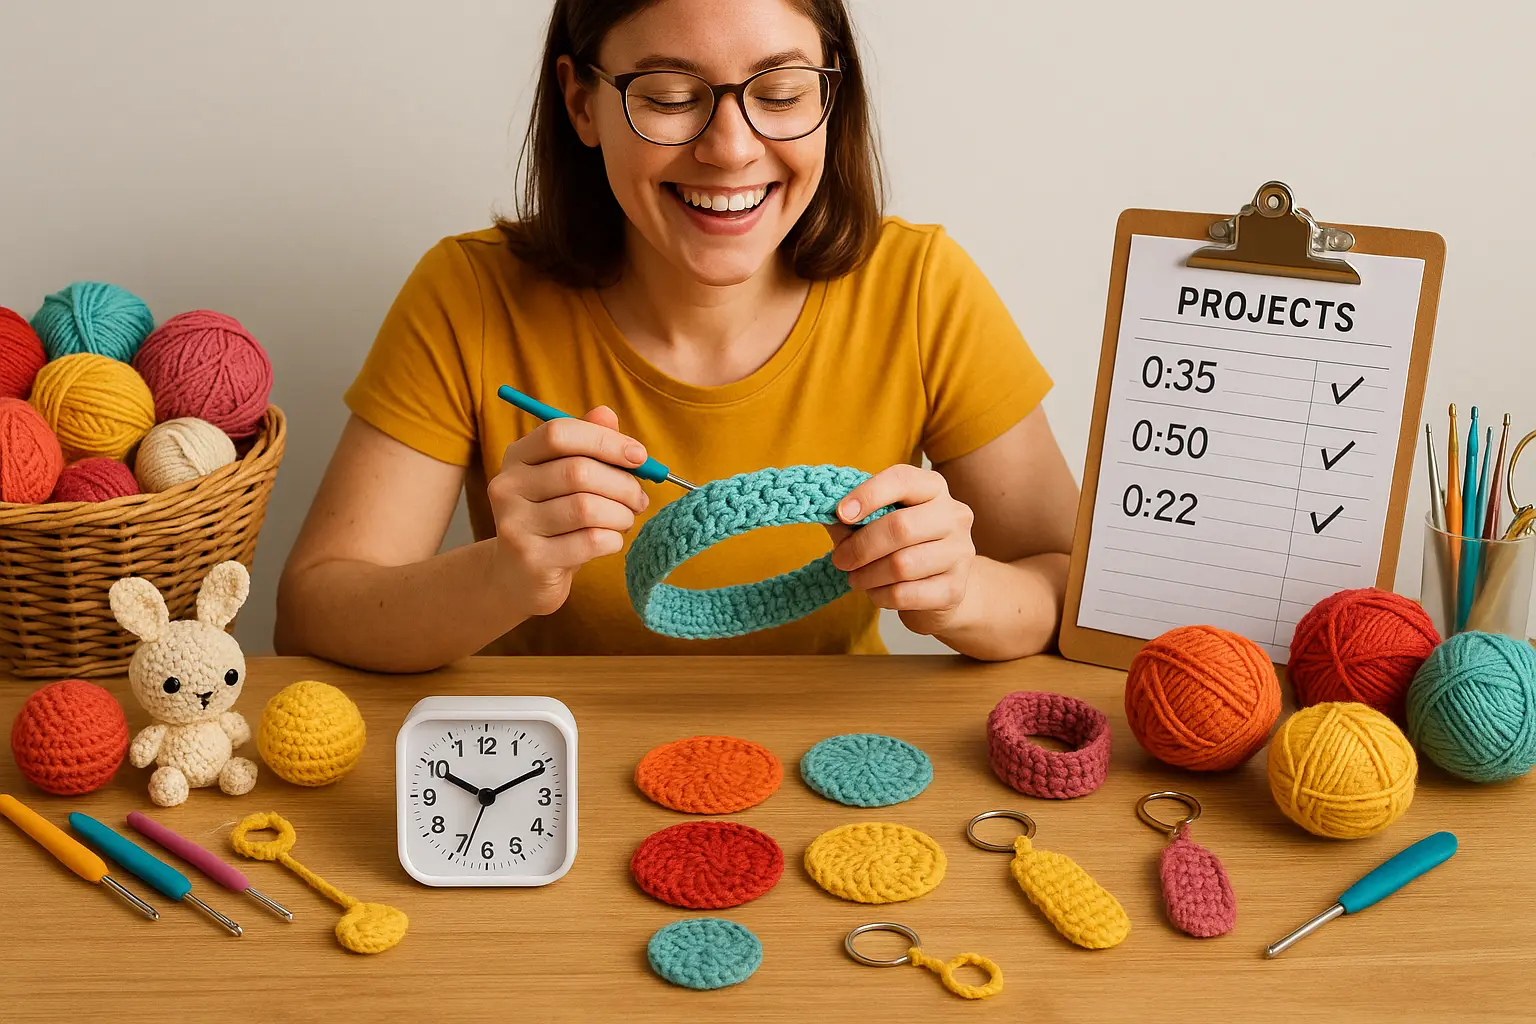
Comprehensive Pattern Library
Beginner Projects (2-4 hours each)
Simple Sphere (Practice Piece): Perfect for learning basic techniques without pressure.
Materials: 50g worsted weight yarn, 4mm hook, fiberfill Skills learned: Magic ring, increases, decreases, stuffing
Basic Construction:
- R1: 6 sc in magic ring
- R2: Inc in each stitch around (12)
- R3: Sc, inc around (18)
- R4-6: Sc around (18)
- R7: Sc, dec around (12)
- R8: Dec around (6)
- Stuff and close
Baby Chick: Introduces color changes and simple assembly.
Skills added: Color changes, basic assembly, safety eyes
Construction Overview:
- Body: Yellow sphere (slightly egg-shaped)
- Head: Yellow sphere (smaller than body)
- Beak: Orange triangle
- Wings: Yellow ovals attached to sides
- Assembly: Head to body, add features
Techniques Focus:
- Practice color change from yellow to orange for beak
- Learn safety eye placement before closing head
- Master basic oval construction for wings
Simple Cat: First multi-piece character with personality.
Skills added: Multi-piece assembly, facial feature planning
Component List:
- Head: Sphere with slight point for chin
- Body: Oval shape, slightly larger than head
- Ears: Two triangles
- Tail: Cylinder with curve
- Limbs: Four small cylinders
Intermediate Projects (4-8 hours each)
Detailed Teddy Bear: Introduces proportion planning and classic toy construction.
New skills: Proportional planning, limb positioning, classic toy aesthetics
Advanced Techniques:
- Jointed limbs: Optional button joints for posability
- Embroidered features: Nose and mouth details
- Fur texture: Brushed yarn technique
- Clothing option: Simple vest or bow tie
Realistic Dog Breeds: Challenges proportional accuracy and breed-specific features.
Skills development: Breed research, proportional accuracy, detailed features
Breed Variations:
- Golden Retriever: Longer snout, floppy ears, tail curve
- Pug: Flat face, wrinkled forehead, curly tail
- Dalmatian: Spotted pattern, pointed ears, lean build
- Dachshund: Elongated body, short legs, alert expression
Fantasy Unicorn: Introduces specialty techniques and magical elements.
Advanced elements: Horn construction, wing attachment, mane styling
Special Techniques:
- Spiral horn: Twisted construction with color changes
- Feathered wings: Layered construction with texture
- Flowing mane: Loop stitch technique for volume
- Sparkle integration: Metallic thread or sequins
Advanced Projects (8+ hours each)
Articulated Dragon: Master-level project requiring multiple advanced techniques.
Expert skills: Wire armature integration, complex assembly, detailed scaling
Construction Challenges:
- Wire armature: Pose-able neck and tail
- Scale texture: Surface crochet or crocodile stitch
- Wing mechanics: Flexible wing joints
- Detail work: Claws, spines, facial features
Anime Character (Human Proportions): Challenges realistic human proportion and clothing construction.
Skills mastery: Human anatomy, clothing construction, detailed features
Technical Requirements:
- Accurate proportions: Head 1/7 of total height
- Facial features: Detailed embroidery or appliqué
- Hair construction: Multiple techniques for different styles
- Clothing details: Removable or integrated garments
Material Selection and Tool Mastery
Yarn Selection for Success
Fiber Content Analysis:
Cotton Yarns:
- Advantages: Crisp stitch definition, machine washable, breathable
- Best applications: Summer toys, kitchen items, baby projects
- Considerations: Can be less forgiving of tension issues
- Recommended brands: Lion Brand 24/7 Cotton, Bernat Handicrafter Cotton
Acrylic Yarns:
- Advantages: Soft, affordable, wide color range, hypoallergenic
- Best applications: Children's toys, practice projects, high-use items
- Considerations: Can pill with heavy use, less breathable
- Recommended brands: Red Heart Super Saver, Caron Simply Soft
Wool Blends:
- Advantages: Natural elasticity, temperature regulation, premium feel
- Best applications: Adult gifts, decorative pieces, heirloom items
- Considerations: May require hand washing, higher cost
- Recommended brands: Lion Brand Wool-Ease, Patons Classic Wool
Specialty Yarns:
- Fuzzy textures: Mohair, alpaca blends for realistic fur effects
- Metallic threads: Add sparkle to fantasy creatures
- Color-changing yarns: Self-striping effects for unique characters
- Textured yarns: Bouclé, chenille for special effects
Hook Selection Strategy
Size and Gauge Relationship:
Standard Recommendations:
- Worsted weight yarn: Use 4.0mm instead of recommended 5.0mm
- DK weight yarn: Use 3.5mm instead of recommended 4.0mm
- Sport weight yarn: Use 3.0mm instead of recommended 3.5mm
Material Considerations:
- Aluminum hooks: Smooth yarn flow, consistent stitches
- Bamboo hooks: Warmer feel, slight grip helps control tension
- Ergonomic handles: Reduce hand fatigue during long sessions
- Hook sets: Invest in complete set for pattern flexibility
Gauge Testing: Always create tension squares before starting projects:
- Work 4x4 inch square in pattern stitch
- Measure stitches per inch horizontally and vertically
- Adjust hook size if gauge doesn't match pattern
- Note personal gauge for future reference
Stuffing and Safety Considerations
Stuffing Material Comparison:
Premium Polyester Fiberfill:
- Benefits: Washable, hypoallergenic, maintains shape
- Best applications: All general amigurumi projects
- Quality indicators: Springy texture, doesn't clump when washed
- Recommended brands: Poly-Fil Premium.com/).
Natural Alternatives:
- Wool roving: Breathable, naturally antimicrobial
- Cotton batting: Firm, environmentally friendly
- Kapok fiber: Silky, water-resistant natural option from Organic Cotton Plus
Weighted Options:
- Poly pellets: Add stability to bottom-heavy designs (Fairfield Poly-Pellets)
- Steel shot: Even weight distribution, washable
- Rice/beans: Natural weight (not washable)
- Sand: Moldable weight option (seal carefully)
Safety Considerations:
- Age-appropriate materials: No small parts for under-3 years
- Washability: Consider cleaning requirements
- Durability: Test seam strength for intended use
- Chemical sensitivity: Choose hypoallergenic options when needed
Troubleshooting and Quality Control
Common Construction Issues
Tension Problems:
Too Loose Diagnosis:
- Stuffing visible through stitches
- Piece lacks structural integrity
- Irregular shape retention
Solutions:
- Use smaller hook size
- Practice consistent yarn grip
- Work shorter sessions to maintain concentration
- Consider yarn type (slippery yarns are harder to control)
Too Tight Diagnosis:
- Difficulty inserting hook
- Fabric cups or curves unintentionally
- Hand fatigue from forcing stitches
Solutions:
- Use larger hook size
- Relax grip on yarn and hook
- Take frequent breaks
- Practice tension exercises
Shaping Irregularities:
Lopsided Pieces:
- Cause: Uneven increase/decrease placement
- Prevention: Use stitch markers religiously
- Correction: Add strategic increases/decreases to balance
Bumpy Surfaces:
- Cause: Inconsistent stitch tension or wrong decrease technique
- Prevention: Practice invisible decreases
- Correction: Steam block gently to even surface
Poor Proportions:
- Cause: Not checking pattern photos regularly
- Prevention: Compare work to pattern images frequently
- Correction: Adjust subsequent pieces to balance overall proportions
Assembly and Finishing Excellence
Seam Quality Issues:
Visible Seams:
- Cause: Wrong color thread or poor technique
- Solution: Use exactly matching yarn, practice mattress stitch
- Prevention: Save construction yarn scraps for assembly
Weak Joints:
- Cause: Insufficient reinforcement or wrong thread
- Solution: Use strong upholstery thread, double-stitch stress points
- Prevention: Plan for durability during construction
Misaligned Features:
- Cause: Rushing assembly without proper planning
- Solution: Use removable pins, step back frequently to assess
- Prevention: Mark placement with removable markers
Professional Quality Standards:
Before Completion Checklist:
- [ ] All seams invisible and secure
- [ ] Facial features properly aligned and proportioned
- [ ] Stuffing even throughout without lumps
- [ ] All yarn ends woven in securely
- [ ] Safety features (eyes, joints) properly secured
- [ ] Overall proportions match intended design
- [ ] Color consistency throughout pieces
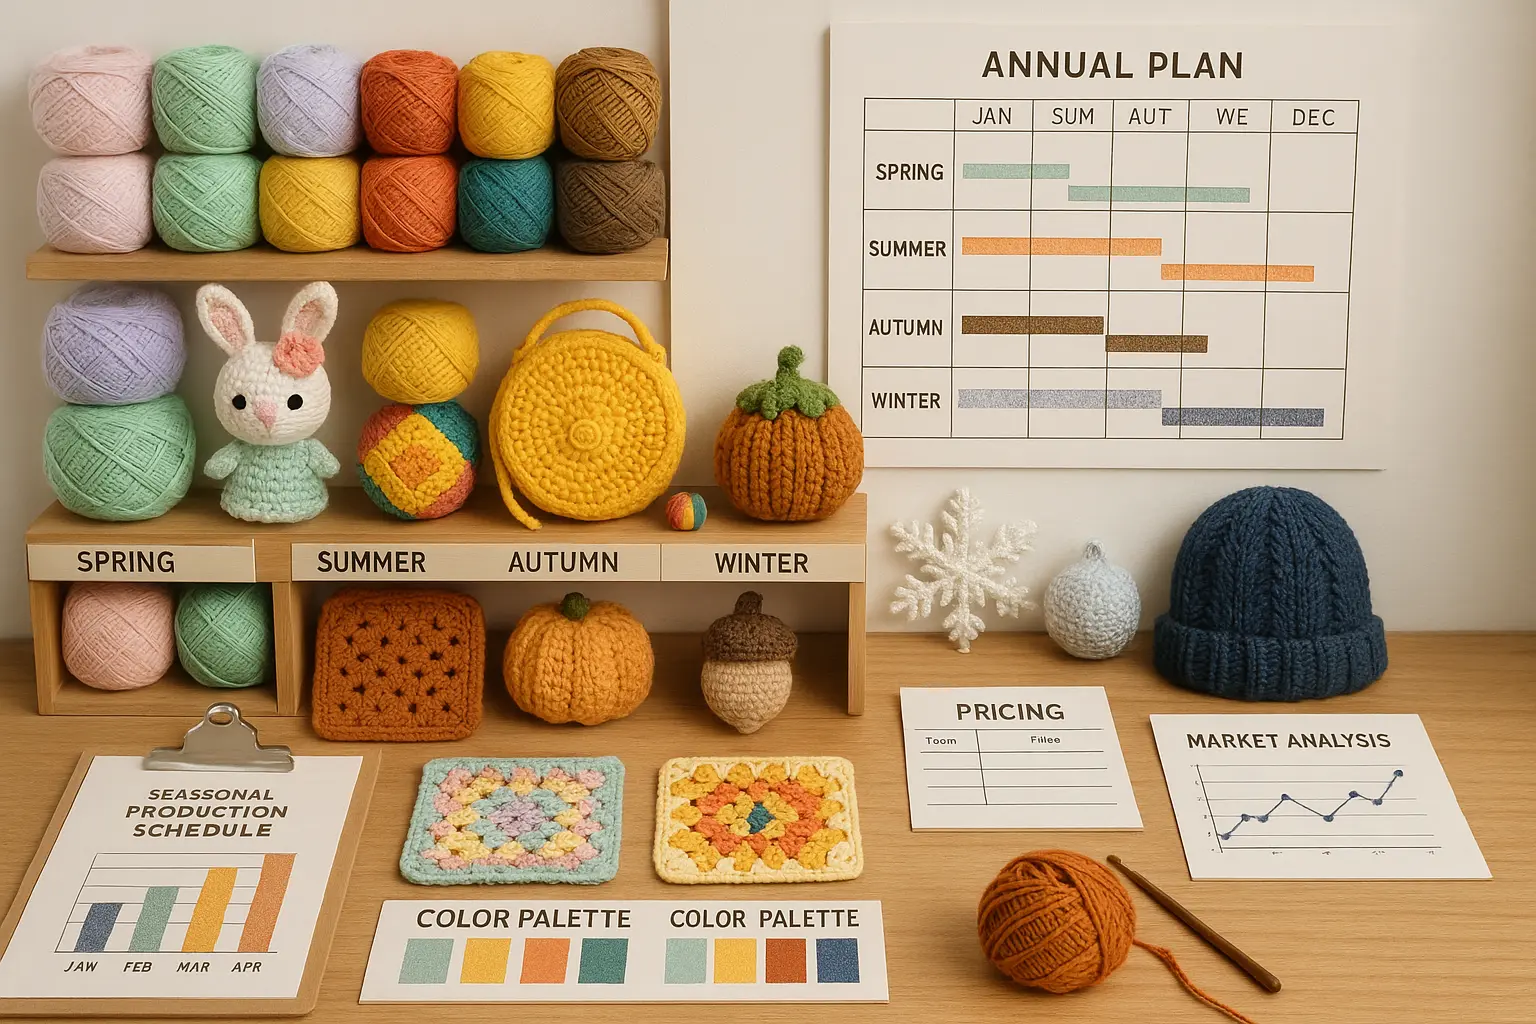
Business Applications and Market Opportunities
Understanding the Amigurumi Market
Market Size and Growth: The global handmade toy market reached $1.2 billion in 2023, with amigurumi representing a significant premium segment. Etsy marketplace data shows 300% growth in amigurumi searches over the past three years, indicating strong and growing demand.
Target Demographics:
- Collectors: Adults seeking unique, handcrafted items
- Parents: Eco-conscious buyers wanting safe, natural toys
- Gift purchasers: People seeking meaningful, personal presents
- Therapy markets: Stress relief, anxiety management, sensory needs
Price Point Analysis:
- Simple characters: $15-35 (2-4 hours work)
- Intermediate designs: $35-75 (6-8 hours work)
- Complex characters: $75-200+ (12+ hours work)
- Custom commissions: 25-50% premium over standard rates
Developing Your Amigurumi Business
Skill Development Timeline:
- Months 1-3: Master basic techniques, complete 10+ simple projects
- Months 4-6: Develop intermediate skills, establish personal style
- Months 7-9: Create complex pieces, begin original designs
- Months 10-12: Launch business, develop customer base
Platform Selection:
- Etsy: Largest handmade marketplace, built-in audience discovery
- Instagram: Visual platform perfect for showcasing work process
- Local craft fairs: Direct customer interaction, immediate feedback
- Custom commissions: Highest profit margins, personal relationships
Business Development Strategy:
- Build portfolio: Create diverse collection showcasing range
- Develop pricing structure: Calculate true costs including time value
- Create brand identity: Consistent visual style and quality standards
- Establish online presence: Professional photos, clear descriptions
- Network within community: Connect with other amigurumi artists
- Gather customer feedback: Use reviews to improve offerings
Learn comprehensive business development strategies in our detailed crochet business guide.
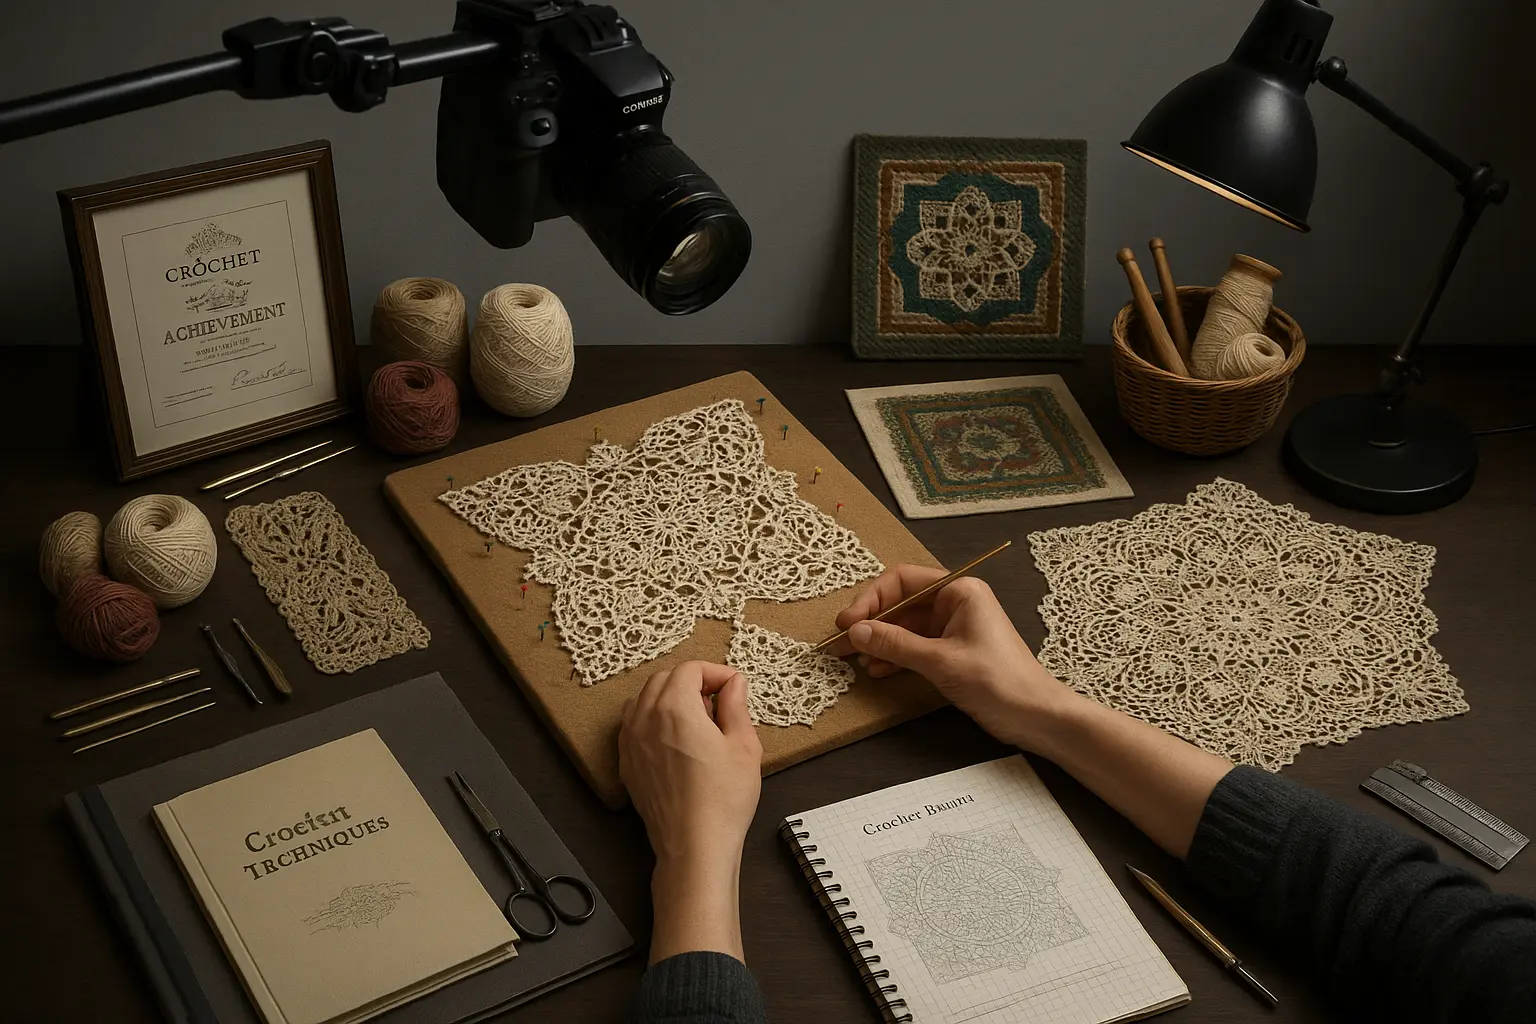
Pattern Development and Sales
Creating Original Patterns:
Design Process:
- Market research: Identify popular themes and gaps
- Concept development: Sketch ideas, plan construction
- Prototype creation: Test design viability and timing
- Pattern writing: Clear, tested instructions
- Photography: Professional images for marketing
- Testing: Beta testers verify pattern accuracy
Pattern Pricing Strategy:
- Simple patterns: $3-7 (basic animals, food items)
- Intermediate patterns: $7-15 (detailed characters, clothing)
- Advanced patterns: $15-30+ (complex constructions, original designs)
- Pattern bundles: 20-30% discount for multiple purchases
Legal Considerations:
- Copyright protection: Original patterns are automatically copyrighted
- Licensing terms: Specify allowable uses (personal vs commercial)
- Character licensing: Avoid copyrighted characters without permission
- Pattern testing: Use agreements protecting both parties
Advanced Techniques and Innovations
Wire Armature Integration
For pose-able characters and structural support:
Armature Planning:
- Wire selection: 16-20 gauge craft wire for small figures
- Joint design: Loops at articulation points for flexibility
- Safety wrapping: Cover sharp ends with tape or yarn
- Installation timing: Insert during stuffing for best results
Advanced Armature Techniques:
- Twisted wire construction: Multiple strands for strength
- Removable systems: Allow pose changes without damage
- Magnetic joints: Interchangeable limb systems
- LED integration: Light-up features for special effects
Surface Decoration Methods
Embroidery Enhancement:
- French knots: Textured details, flower centers
- Satin stitch: Smooth color fills, facial features
- Chain stitch: Flowing lines, hair details
- Cross stitch: Geometric patterns, clothing details
Surface Crochet Applications:
- Stripe additions: Color lines without yarn changes
- Texture creation: Raised patterns and designs
- Feature definition: Facial contours, muscle definition
- Decorative borders: Collar edges, hem details
Mixed Media Integration:
- Fabric additions: Felt patches, clothing details
- Bead embellishment: Eyes, decoration, jewelry
- Wire work: Antennae, whiskers, structural elements
- Paint applications: Special effects, shading, details
Community and Continuing Education
Learning Resources and Growth
Online Learning Platforms:
- YouTube channels: Free video tutorials from expert creators
- Ravelry: Massive pattern database and active community forums
- Craftsy/Bluprint: Structured courses with instructor feedback
- Social media groups: Facebook and Reddit communities for support
Traditional Learning Options:
- Local yarn shops: Often offer amigurumi classes and workshops
- Craft stores: Beginner-friendly classes with supply convenience
- Guild meetings: Connect with local crochet enthusiasts
- Conventions: Intensive learning experiences with expert instructors
Skill Development Strategy:
- Progressive challenges: Gradually increase project complexity
- Technique focus: Master one advanced technique at a time
- Community engagement: Share work for feedback and encouragement
- Teaching others: Solidify skills by explaining techniques
Contributing to the Amigurumi Community
Ways to Give Back:
- Pattern testing: Help designers improve their instructions
- Tutorial creation: Share unique techniques or troubleshooting tips
- Charity work: Create comfort objects for hospitals, shelters
- Mentorship: Guide newcomers through their first projects
Building Your Reputation:
- Consistent quality: Maintain high standards in all public work
- Helpful participation: Contribute meaningfully to community discussions
- Innovation sharing: Document and share new techniques or adaptations
- Professional presentation: Quality photography and clear communication
Measuring Your Progress
Skill Assessment Milestones
Beginner Level Mastery:
- [ ] Create perfect magic ring consistently
- [ ] Maintain even tension throughout projects
- [ ] Execute clean increases and decreases
- [ ] Assemble multi-piece projects with invisible seams
- [ ] Complete simple animal characters independently
Intermediate Level Achievement:
- [ ] Design original simple characters
- [ ] Modify existing patterns successfully
- [ ] Create realistic animal proportions
- [ ] Master color work techniques
- [ ] Teach basic techniques to others
Advanced Level Excellence:
- [ ] Write clear, tested original patterns
- [ ] Integrate armatures and special features
- [ ] Develop recognizable personal style
- [ ] Successfully sell work at market rates
- [ ] Mentor other amigurumi enthusiasts
Quality Benchmarks
Professional Standards:
- Consistency: Every piece meets same quality level
- Innovation: Regular incorporation of new techniques
- Efficiency: Faster completion without compromising quality
- Problem-solving: Independent troubleshooting of construction issues
- Teaching ability: Clear explanation of techniques to others
Personal Growth Indicators:
- Confidence: Tackle challenging projects without hesitation
- Creativity: Regular development of original designs
- Community involvement: Active participation in amigurumi groups
- Skill sharing: Help others solve construction problems
- Continuous learning: Seek out new techniques and challenges
Conclusion: Your Amigurumi Journey
Amigurumi represents a unique intersection of technical skill, artistic vision, and emotional connection. These three-dimensional sculptures create bonds between maker and user that flat crochet simply cannot achieve. The techniques you master through amigurumi practice enhance all aspects of your crochet abilities while providing immediate, tangible satisfaction.
The journey from tentative first magic ring to confident character designer requires patience, practice, and persistence. Each completed piece builds both technical skill and creative confidence. Embrace the learning process, celebrate small victories, and remember that even master crafters continue discovering new techniques and inspirations.
The global amigurumi community offers support, inspiration, and friendship to crafters at every level. Share your work, ask questions, and contribute your unique perspective to this rich creative tradition. Your individual style and interpretation add to the collective knowledge that makes amigurumi such a dynamic and evolving art form.
Ready to start your amigurumi journey? Begin with our foundational crochet techniques if you're new to crochet, or dive directly into our beginner amigurumi projects for hands-on learning.
Looking to advance your skills? Explore our advanced technique tutorials for complex construction methods, or discover business opportunities in our crochet entrepreneurship guide.
Want to connect with fellow amigurumi enthusiasts? Join our community showcases in the project gallery and find inspiration in our complete technique library.
Bring your imagination to life with yarn! Share your amigurumi creations using #KitCrochetAmigurumi and inspire others with your unique interpretations of this beloved Japanese art form.
Accelerate your amigurumi mastery! Our comprehensive KitCrochet Bundle includes exclusive amigurumi video masterclasses, downloadable pattern collections, construction technique guides, and business development tools. Get instant access to professional instruction that transforms beginners into confident amigurumi artists, plus the resources to build a profitable business around your creative skills.